
I discovered the Soumak weave in a tutorial on YouTube when I was first researching different types of weaves I could do with wire. I have to credit Beadaholique here, and this is a link to that tutorial: https://www.youtube.com/watch?v=8uoGp6yF5q4 .
I watched this video about 20 times, or until I came up with a variation I could live with that would work with wire. Don't get me wrong here. I probably didn't come up with anything that original, but having not been formally trained in wire weaving, this technique was new to me and I adopted it. I still use it to this day.
The Soumak weave goes back centuries, some rug experts say as early as 2000 BC. It was used in linen, as well as wool weaving. It has been used to some extent in weaving of all sorts to this day. Here is a diagram I found on the web that pretty well describes the Soumak and how it is achieved.

www.BarbaraBerkDesigns.com
As you can see, it is what I call and up and down weave. Let me describe it in "wire-ease" to make it easier to understand for the wire weaver, and I will include some photos for all you visual folks. I am going to assume that you already know how to do some basic wire weaving, so if you have questions I don't address here, feel free to message me.
Using the above diagram, you are going to go two wires up and loop, go two wires more and loop, go two wires more and loop until you are up to the top wire. You will make another single loop on the top wire, cross over the second wire down, and go two wires down and loop, two wires down and loop, continuing to the bottom. Just follow the diagram above and you will have a true Soumak.
The variation I use the most is shown in my series of photos here. This is the weave you have all asked to see done. I begin the same way as the diagram above.
 I start out by making three rounds (Step 1) around the bottom wire. (I am using 18 gauge frame wires and weaving with 26 gauge.) Step 2: Take your weave wire up and around the second wire. Pull your wire between the first and second frame wire towards you, as seen here. Go up and around the second and third frame wire.
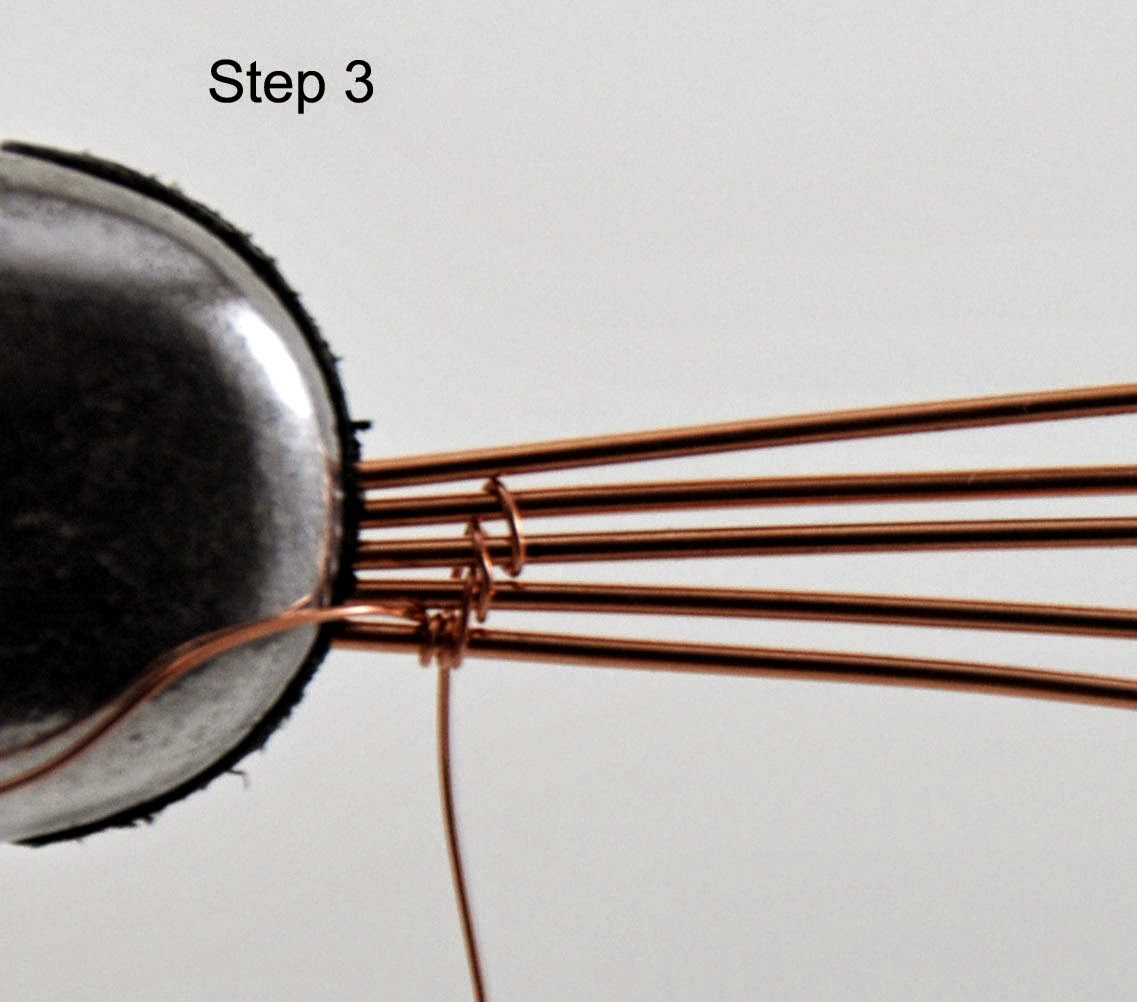


 Here, I have done three rounds and pushed the stitches together.
 This is the weave I use to make a lot of my bracelets.

The absolutely cool thing about this weave is that is is the same on the back as it is on the front. This is a pic of the back. Neat, huh? The idea...not my weaving...lol!
Oh, and that is my ring vice holding the wires. That is my favorite tool in the whole world, when I am weaving. I wedge that little bugger in between my left elbow and my side and have both my left hand and right hand free to separate wires and keep my weaving flowing and smooth.
That's about all I have to say about that for now. I hope this was informative and gives you an idea of how to do this particular variation of the Soumak Weave. If you have any questions or comments, be sure to let me know, and I will do my best to answer them in a timely manner.
Hugs to you all, and remember to Stay Wired Up!!!